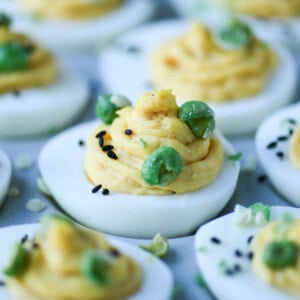
These Japanese-inspired Miso Deviled Eggs are a spin on everyone's favorite retro dish. Made with white miso paste, soy sauce, and crushed wasabi peas, they are the perfect appetizer (or main dish) for a crowd.

Like my sesame oil eggs, these miso-deviled eggs have their flavor dialed way up. The white miso adds a distinct umami flavor while balancing out the richness of the eggs, and the wasabi adds a little heat.
Whether you serve them as a fun appetizer or a simple lunch, these are sure to be the talk of the town!
Jump to:
Ingredient notes
Keep reading to learn about the ingredients.
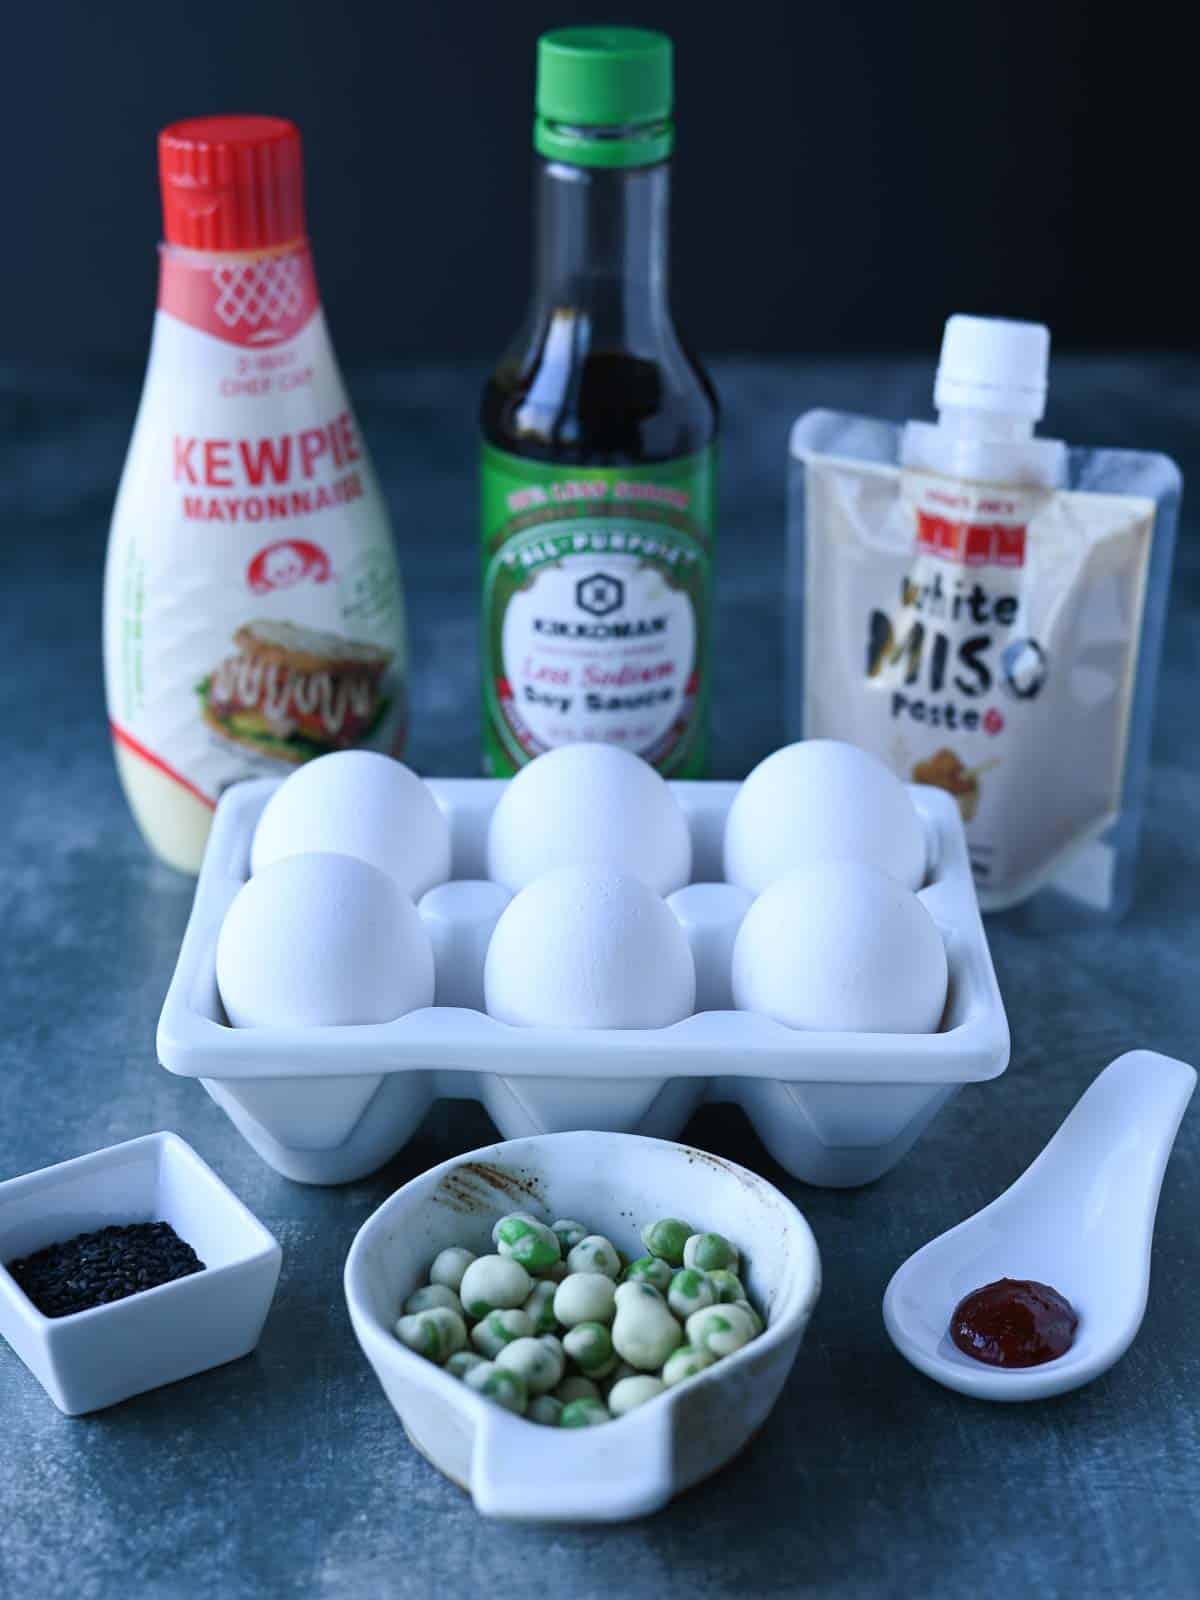
- Eggs- To make them easier to peel, choose older eggs (not the carton you just bought today).
- Mayonaise- To keep with the Japanese theme look for Kewpie Mayo (A Japanese mayo that uses only egg yolks). Regular mayo will also work.
- White miso paste- Also known as Shiro paste, white miso is a paste made from fermented soybeans and rice. It's a popular ingredient in Japanese cooking and is often used in soups and for adding a salty (umami) flavor to foods. It has a mild nutty taste with salty and sweet notes. It's lighter in color and flavor than other miso varieties (red or yellow). Because we don't want the miso to overwhelm the eggs, white miso is the better choice for this recipe. Look for it in the Asian section of your grocer, or order it online. I get mine at Trader Joe's.
- Soy sauce- Adds a salty richness and helps boost the miso flavor.
- Gochujang- Also known as red chili paste, gochujang is a savory, sweet, and spicy fermented condiment popular in Korean cooking. While this is a fun addition, there is no reason to run out and buy some for the recipe. You can use your favorite hot sauce to add a little heat (i.e. Siracha, Tobasco, Sambel Olek).
- Salt and pepper to taste.
- Sesame seeds- For topping.
- Wasabi peas- Dried peas coated with wasabi seasoning. These are sprinkled over the finished eggs to add spice and texture. Look for them in the snack section of your grocery store, or you can purchase them online.
See the recipe card for quantities.
Step-by-step
Use this guide to help you along.

Peel your hard-boiled eggs.
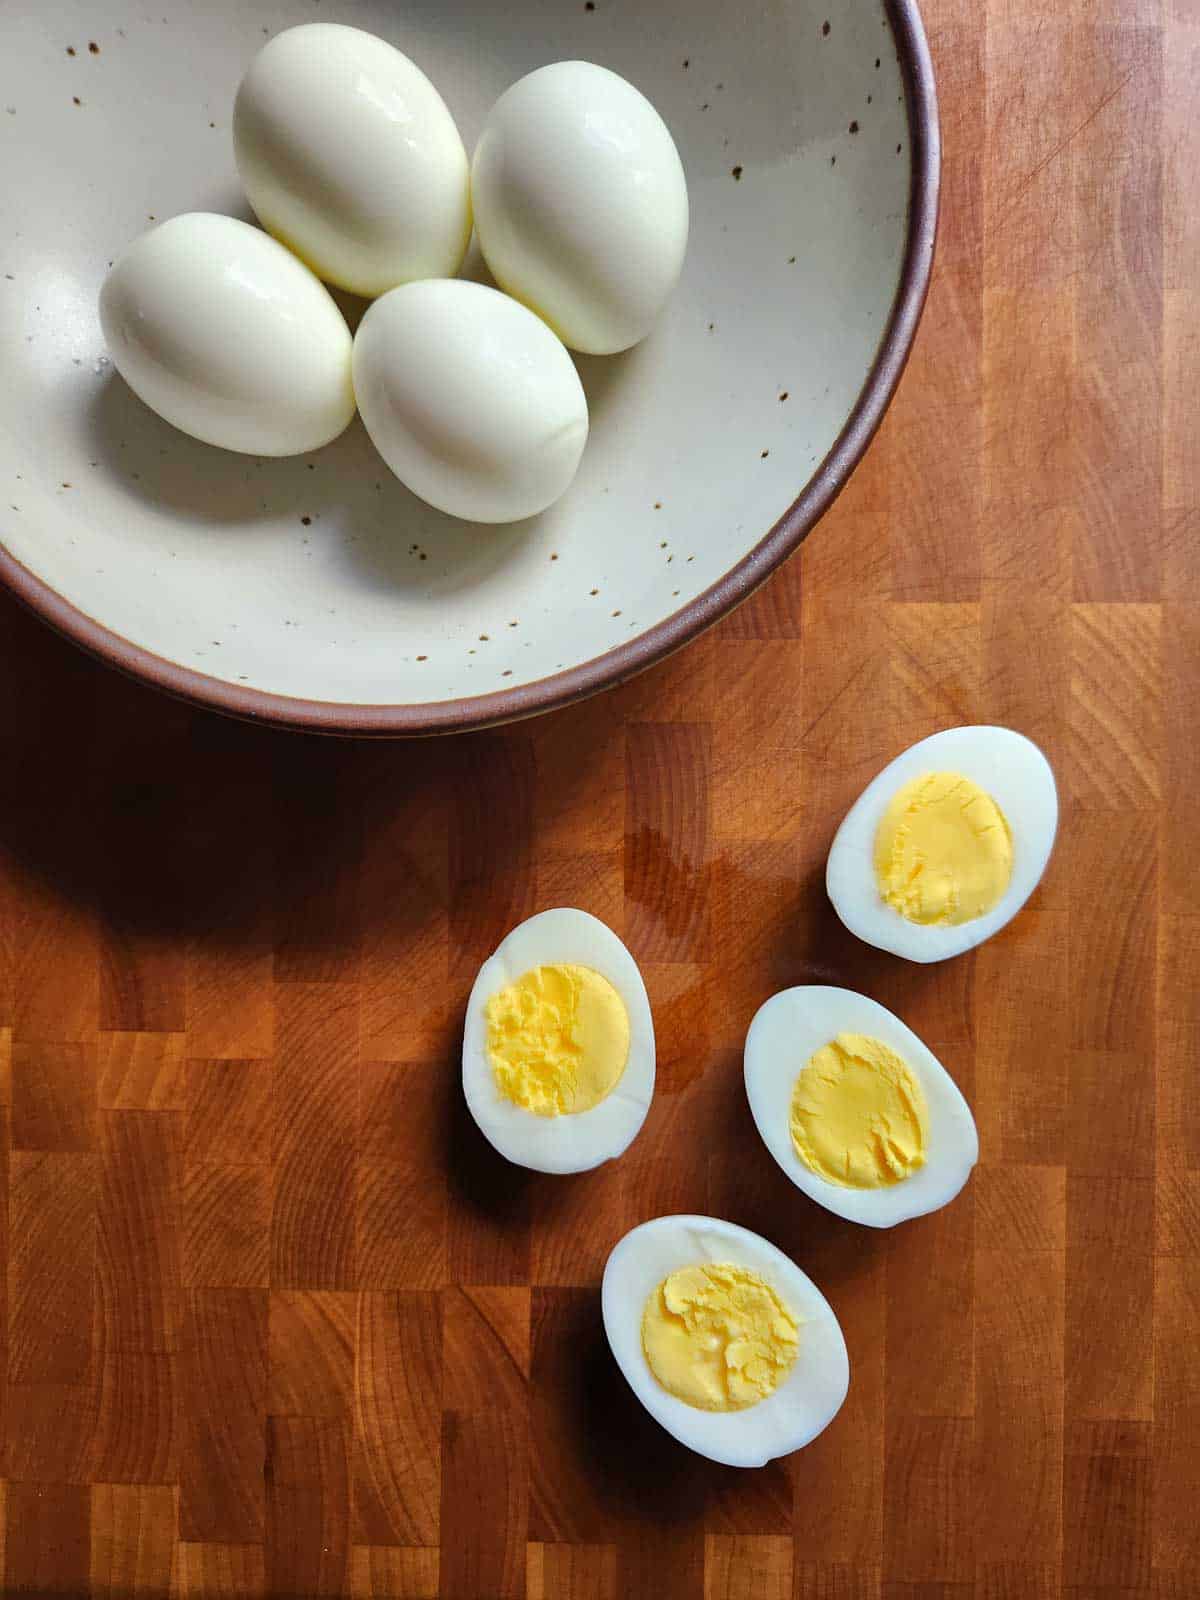
Slice each egg in half, lengthwise.
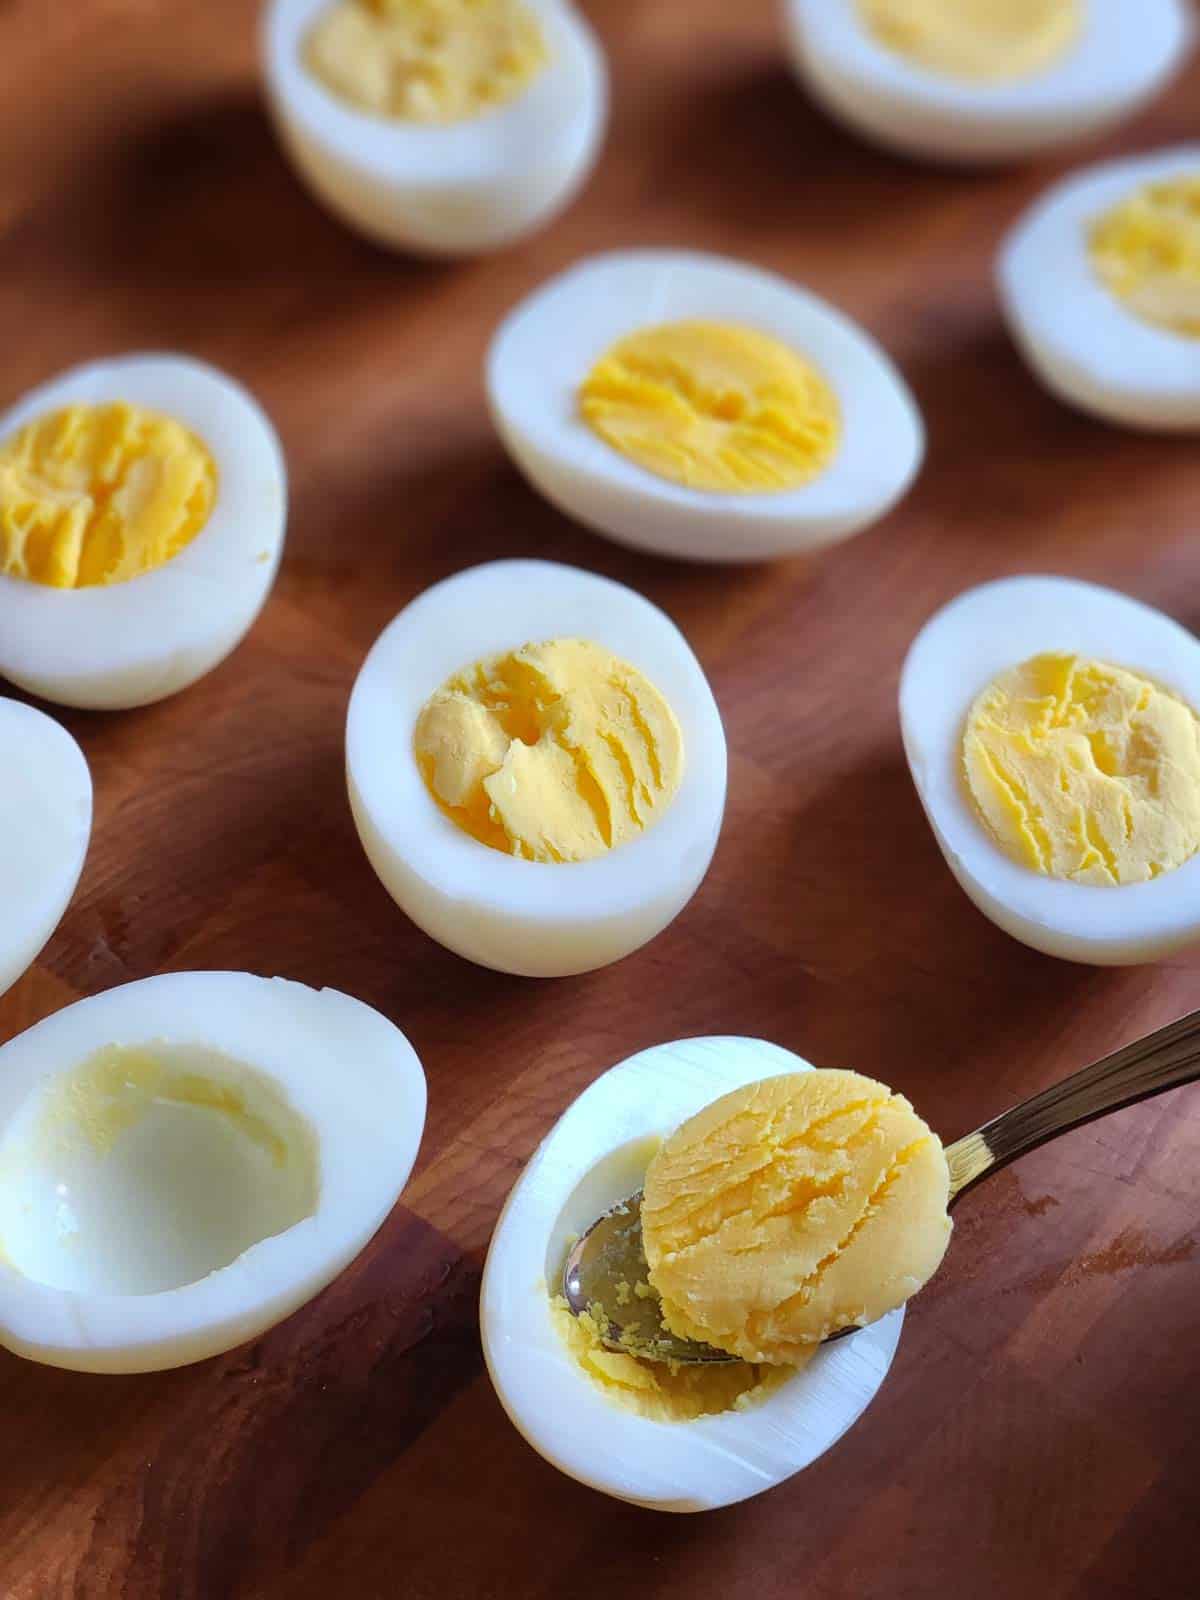
Using a small spoon, remove the yolks, and add them to a bowl.
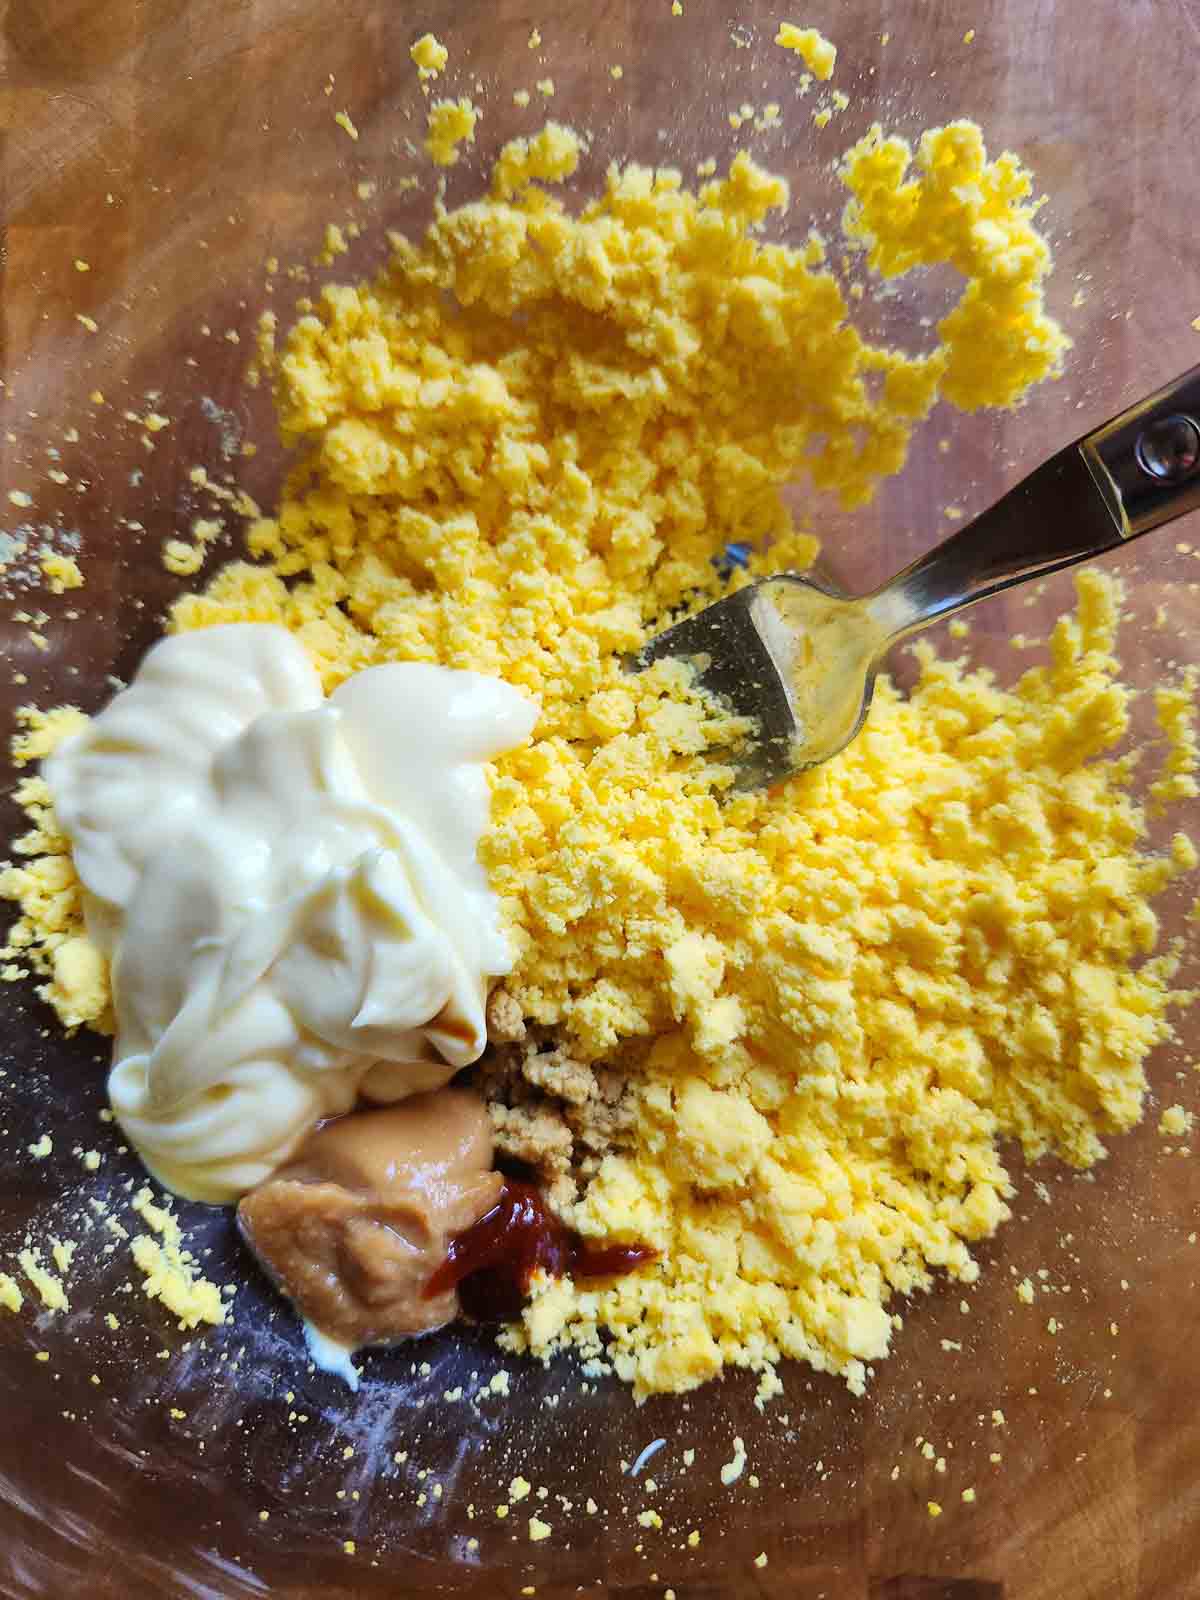
With a fork, begin by smashing the egg yolks. Add the remaining ingredients and mix until well combined.
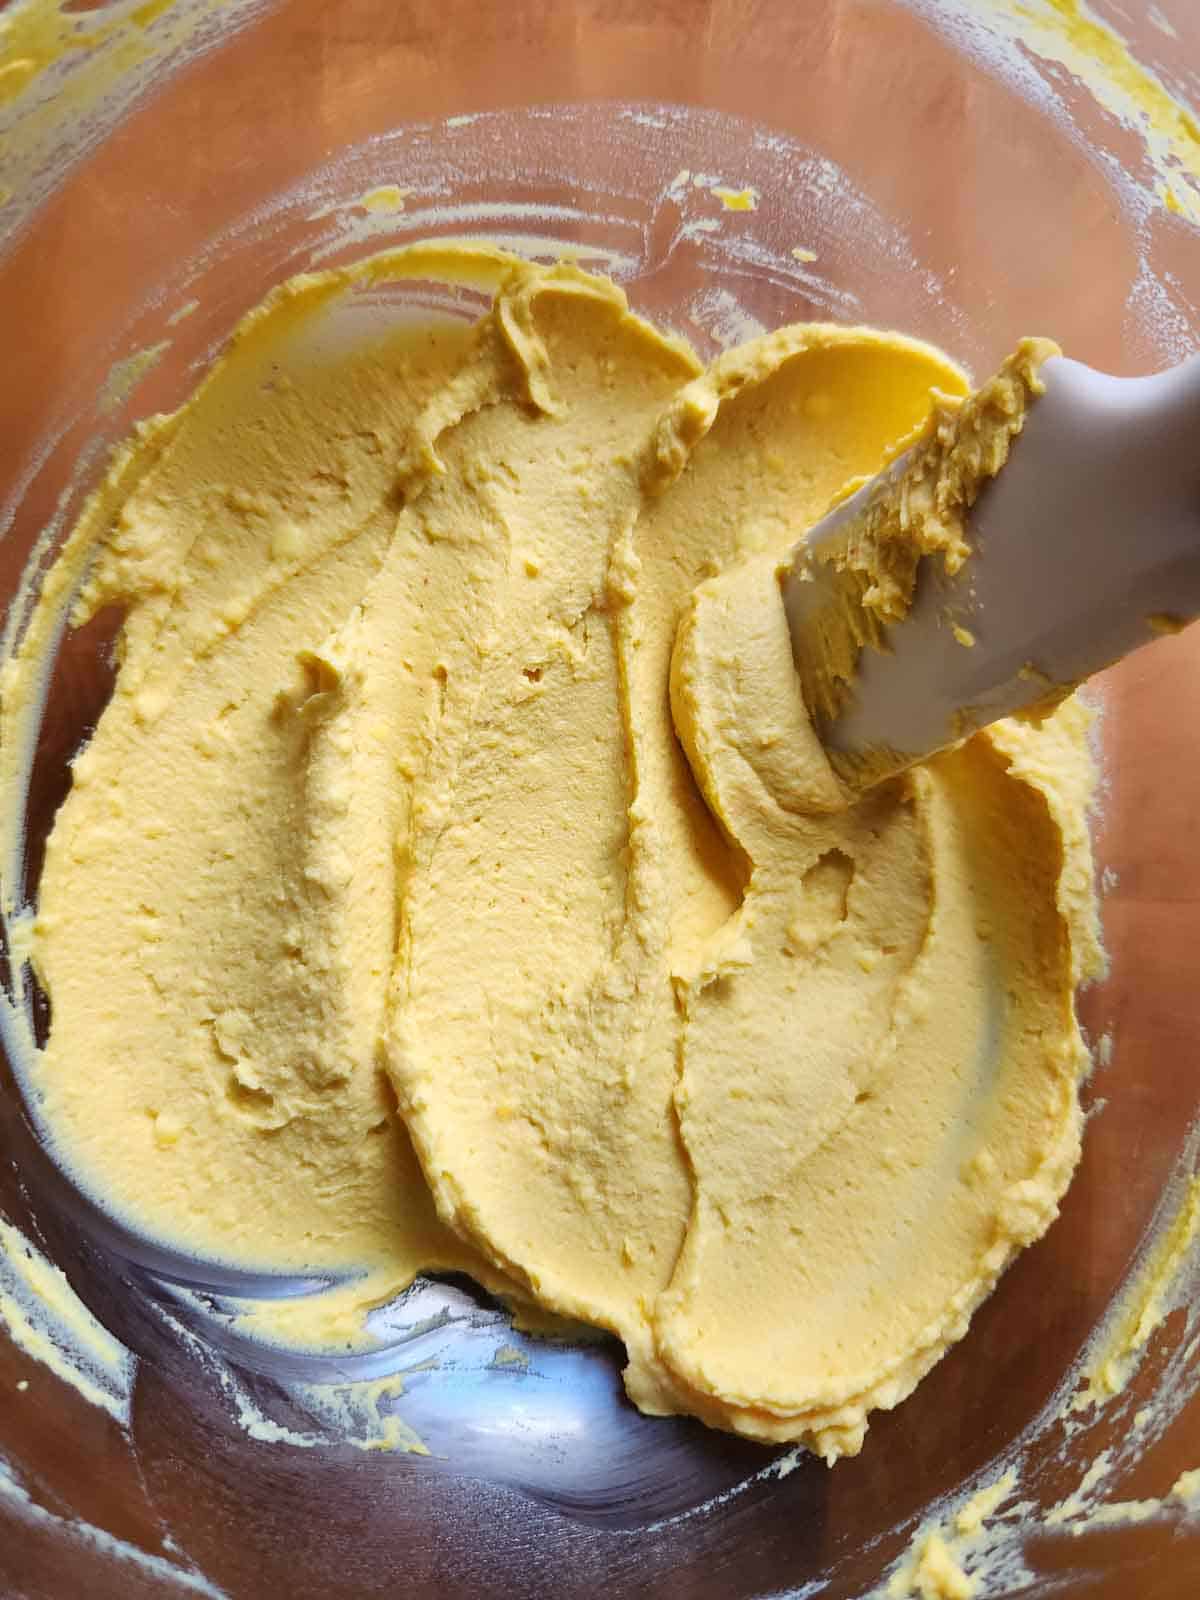
Use a food processor or hand mixer to smooth the filling if desired.
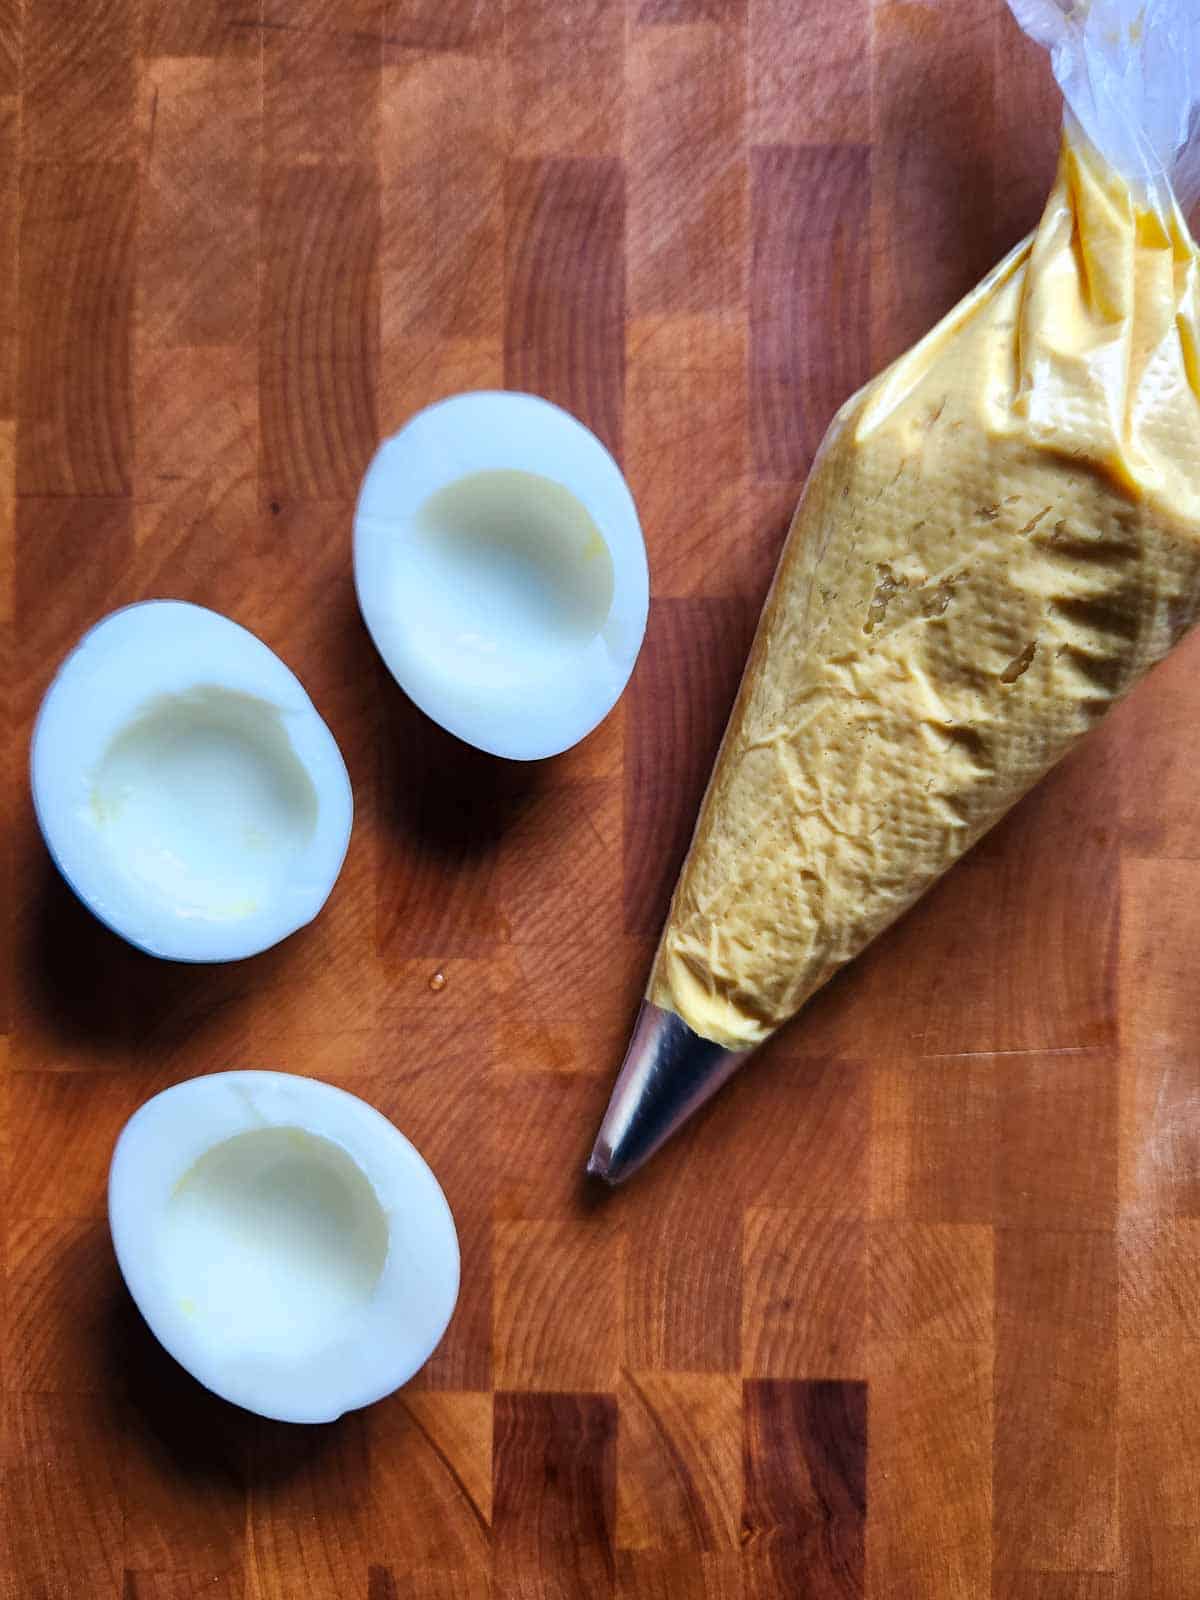
Spoon the filling into the egg halves or use a piping bag to pipe the filling in for a prettier presentation.
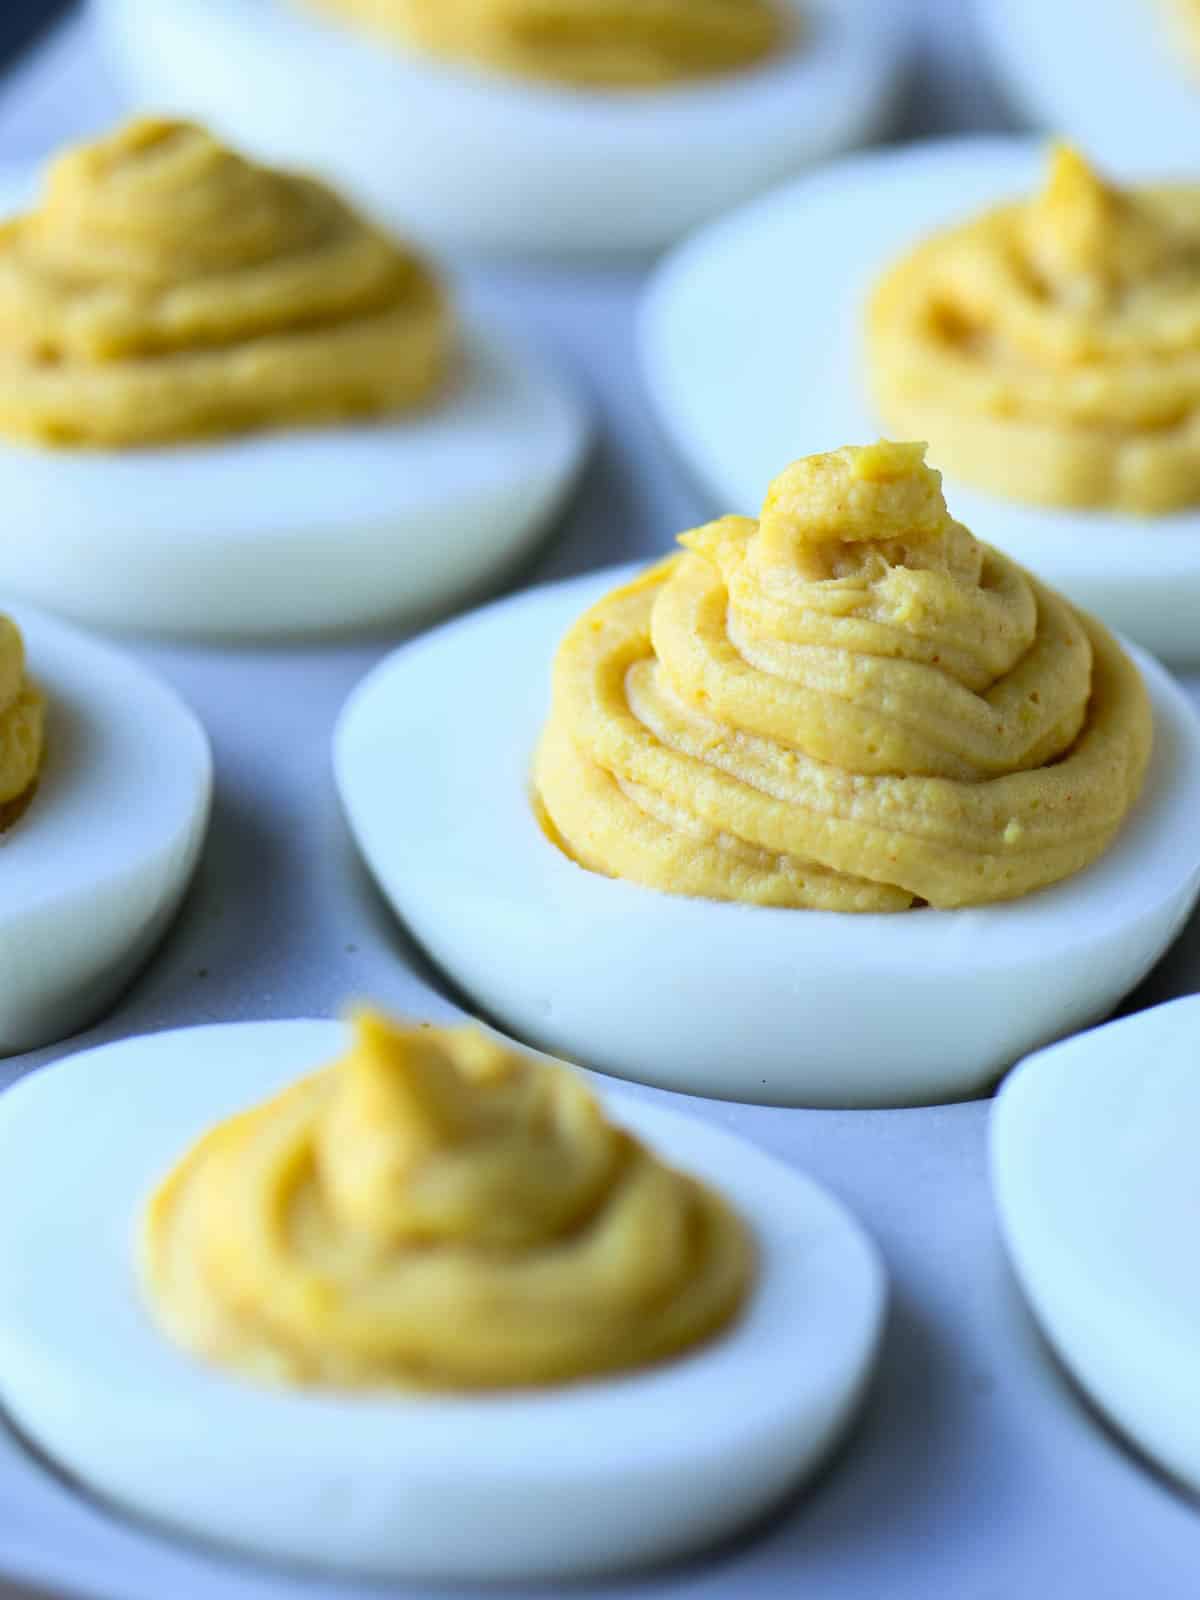
Top with the sesame seeds and salt and pepper if desired. If preparing the eggs in advance, add the wasabi peas just before serving so they don't get soggy.
👩🍳Pro tips for peeling eggs
- Start with older eggs. The membranes tend to be drier than fresh eggs.
- Allow them to sit in an ice bath after boiling for 5-10 minutes. This causes the egg whites to contract and separate from the shell.
- Crack the eggs on a flat surface (gently) in multiple spots to start the peeling process.
- Peel under a gentle stream of cold running water. This makes it easier to grasp the shattered shell.
Substitutions and variations
- If you still want an Asian-inspired deviled egg, but don't have miso, add more soy sauce or tamari sauce. You could also use tomato paste (although the result will be sweeter).
- For additional toppings add scallions, dried seaweed, or crunchy edamame beans.

Serving and pairing
Miso-deviled eggs make a great appetizer. You'll want to serve them chilled from the fridge and be sure they are not sitting out for more than two hours.
If making them for a crowd, the recipe can easily be doubled. Just remember that depending on the number of eggs you choose, the resulting serving will be double (ex. 12 eggs= 24 halves). A typical serving of deviled eggs is 2 egg halves per person.
Arrange your deviled eggs on a platter or better yet- a deviled egg serving dish like this one. If you don't have a designated deviled egg platter, choose a pretty plate and arrange the eggs over some lettuce leaves (or nori to keep with the Japanese theme) to prevent sliding. You could also use cupcake liners to hold each one.
For a unique pairing, add the deviled eggs to a charcuterie board with dips, crackers, fresh vegetables, or toasted bread. And if you have any leftover deviled eggs that you don't want to store, make them into egg salad!
Storage and make-ahead
For maximal freshness, store miso-deviled eggs in the refrigerator (covered) for up to two days. If you have already added the wasabi peas, just note they will become soggy as they sit.
To save time, you can boil the eggs up to five days in advance and keep them in their shells. Peeled boiled eggs can stay in the fridge for up to 3 days.

FAQ
The best way is to use a food processor or hand mixer to blend the filling. If you don't have either of these, be sure to mash your yolks with a fork until they are as broken down as you can get them.
Related recipes
Check out my other global-inspired recipes.


Made this recipe? I'd love to hear about it. Please leave a ⭐⭐⭐⭐⭐ rating and comment below the recipe. Snapped a photo? Tag @brunchandbatter on Instagram so I can see your creation!
📖Recipe
Miso Deviled Eggs
Equipment
- medium pot
- deviled egg platter or regular platter for serving
Ingredients
- 6 large eggs
- 3 tablespoon Kewpie mayo (Japanese mayo) or regular mayo
- ½ tablespoon white miso paste
- ¾ teaspoon soy sauce or tamari
- ¼ teaspoon Gochujang (red chili paste) or siracha
- Kosher salt and freshly ground pepper to taste
- wasabi peas, crushed
- toasted sesame seeds (black or regular), optional
Instructions
- Place the eggs in a medium-sized pot. Add enough water to cover the eggs by 1 inch. Bring the pot to a boil. As soon as it starts to boil, remove the pot from the heat. Leave the eggs in the pot, covered, for 11 minutes (I like to set a timer).6 large eggs
- While the eggs are sitting, prepare an ice bath (a medium-sized bowl filled with ice and water). After 11 minutes, remove the eggs from the pot and place them in the ice bath to cool for 5-10 minutes.
- Peel the eggs: Start by gently cracking the eggs on a hard surface. Grab some of the cracked shells with your fingers, and gently peel them off. **See post for tips on peeling eggs.
- Take each egg and slice it in half lengthwise. Using a small spoon, remove the yolks from the eggs and add them to a clean bowl. Using a fork, mash the egg yolks until broken down. Add the mayo, miso, soy sauce, red chili paste and mix until creamy. You can use a food processor or hand mixer to create a smoother filling. Season with salt and pepper to taste.3 tablespoon Kewpie mayo (Japanese mayo) or regular mayo, ½ tablespoon white miso paste, ¾ teaspoon soy sauce or tamari, ¼ teaspoon Gochujang (red chili paste) or siracha, Kosher salt and freshly ground pepper to taste
- Fill the eggs: Using a spoon, scoop the filling evenly into each egg half. Alternatively, you can use a piping bag (see notes) or a Ziploc bag with a corner snipped off. Top with crushed wasabi peas, and sesame seeds (if using). Arrange them on a platter and serve immediately.wasabi peas, crushed, toasted sesame seeds (black or regular), optional
Notes
- White miso paste is a popular ingredient in Japanese cooking. It has a mild nutty taste with salty, sweet, and umami notes. Look for it in the Asian section of your grocer, or order it online. I get mine at Trader Joe's.
- If using a piping bag and tip, choose one with a star tip, such as the Wilton 1M or Ateco #824.
- For maximal freshness, store miso-deviled eggs in the refrigerator (covered) for up to two days. If you have already added the wasabi peas, just note they will become soggy as they sit.
- To save time, you can boil the eggs up to five days in advance and keep them in their shells. The peeled eggs can stay in the fridge for up to 3 days
Nutrition*
*Nutrition information is an estimate and provided as a courtesy. Actual values may vary based on ingredients, measurements, and substitutions.


Jane says
Tasty! I bought Trader Joes white miso on a whim, and didn't know what to do with it, so I found this and I'm happy with how they came out. I just spooned the filling over the eggs, so they didn't look as pretty.
Linda says
Tried these for something different and they were fantastic. Followed the recipe but did not have wasabi peas so used a bit of pickled jalapeno
Shared and they wanted the recipe so I'll definitely make again.
Jennifer says
So happy they were a hit! Pickled jalapeno is such a good idea. If you even do get your hands on wasabi peas, give them a try- they really make the eggs pop!