
Looking for a delicious way to use up your basil harvest? This easy homemade basil salt comes together with just a few ingredients and works beautifully with either green or purple basil. It's a colorful, flavorful finishing salt that's perfect for sprinkling over everything from tomatoes and eggs to roasted vegetables.
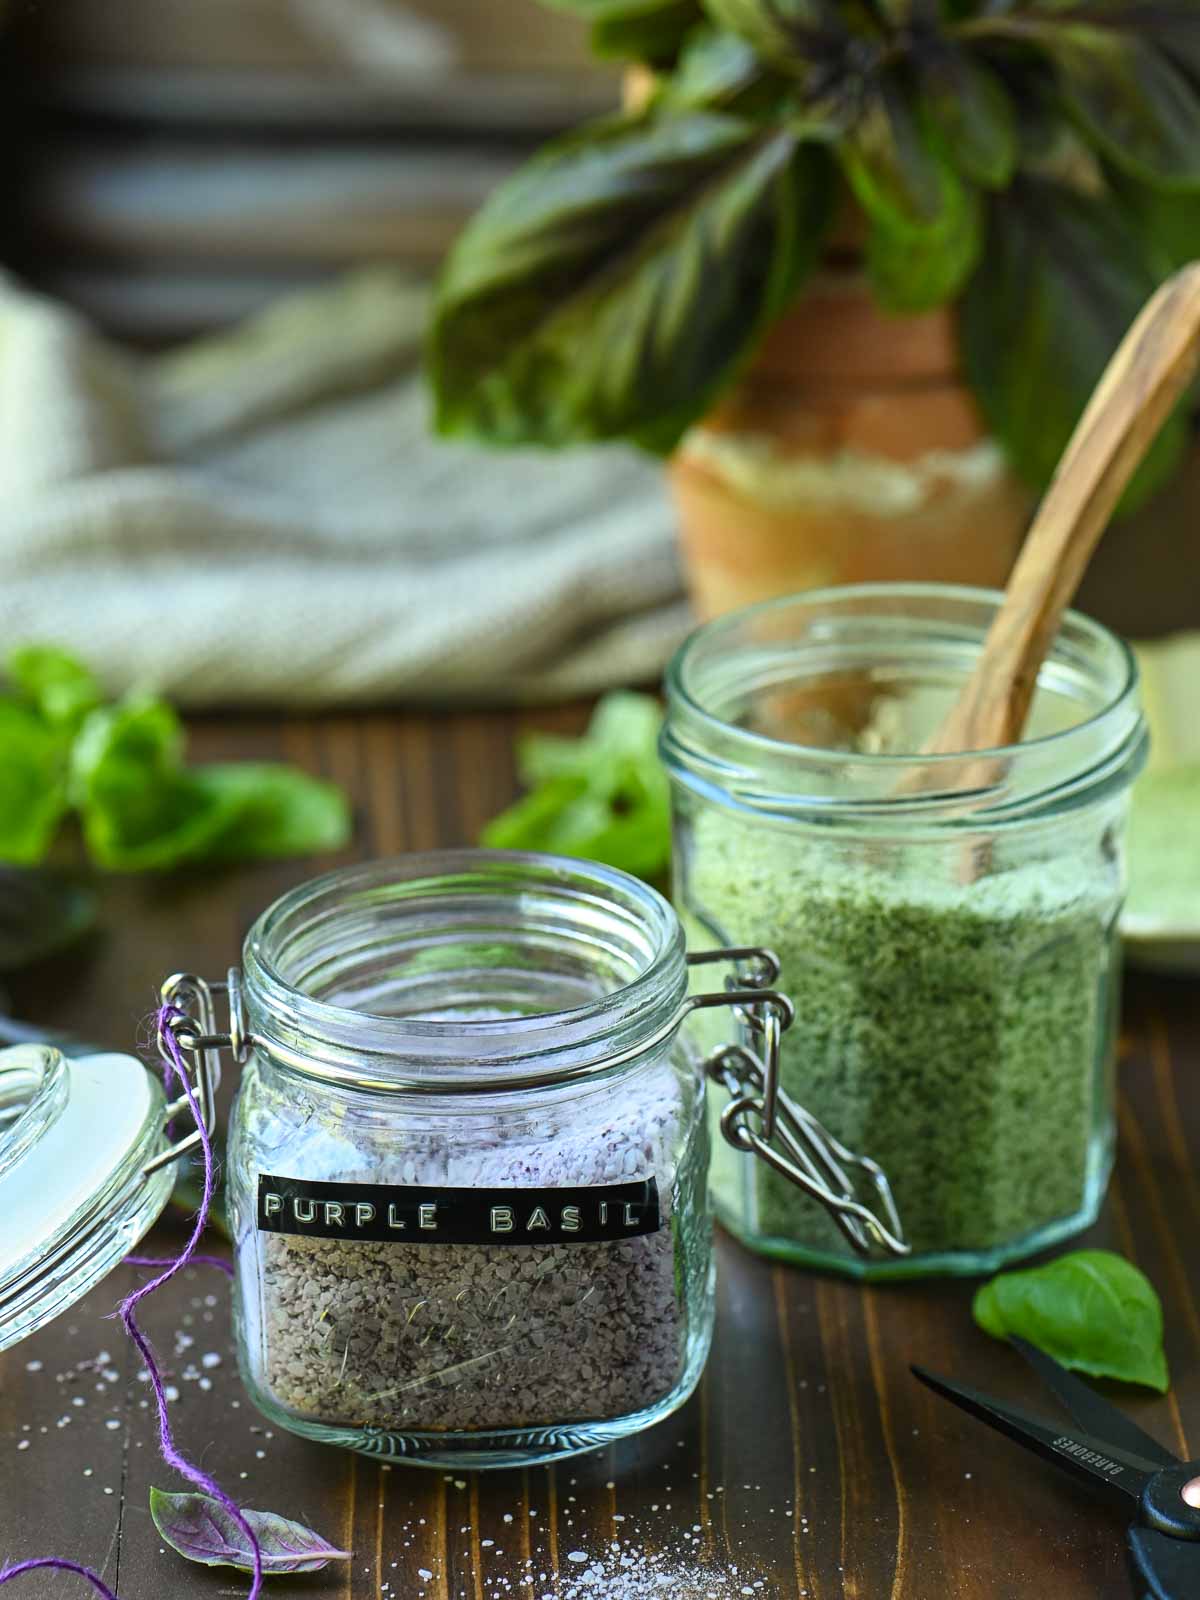
Did you make one too many jars of pesto this season? Then this basil salt recipe might be a good way to mix up your basil routine.
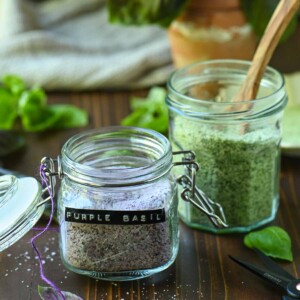
I planted both purple basil and my typical Italian basil this year. While purple basil is stunning to look at, its color doesn't hold up in pesto, so a savory salt is the next best thing. It's the perfect finishing salt for just about anything you use salt for.
So grab that basil and let's get salty!
Jump to:
👉Basil salt at-a-glance
- Just 2 ingredients
- A great way to use up excess fresh basil
- Lasts for months
- Perfect for finishing savory dishes (think eggs, veggies, toast, meat)
- Makes a thoughtful hostess gift
Key ingredients
- Basil. Whether you're growing Genovese, sweet, Dark Opal, Purple Ruffles, Red Rubin, or another edible basil variety, you can use the same method. Green basil makes a bright green salt, while purple basil creates a salt ranging from burgundy to lavender in color.
- Coarse salt. Coarse salt is perfect because it helps draw out moisture from the basil. A coarser salt is ideal for finishing savory dishes and is easier to control. I always have kosher coarse salt, so that's what I used.
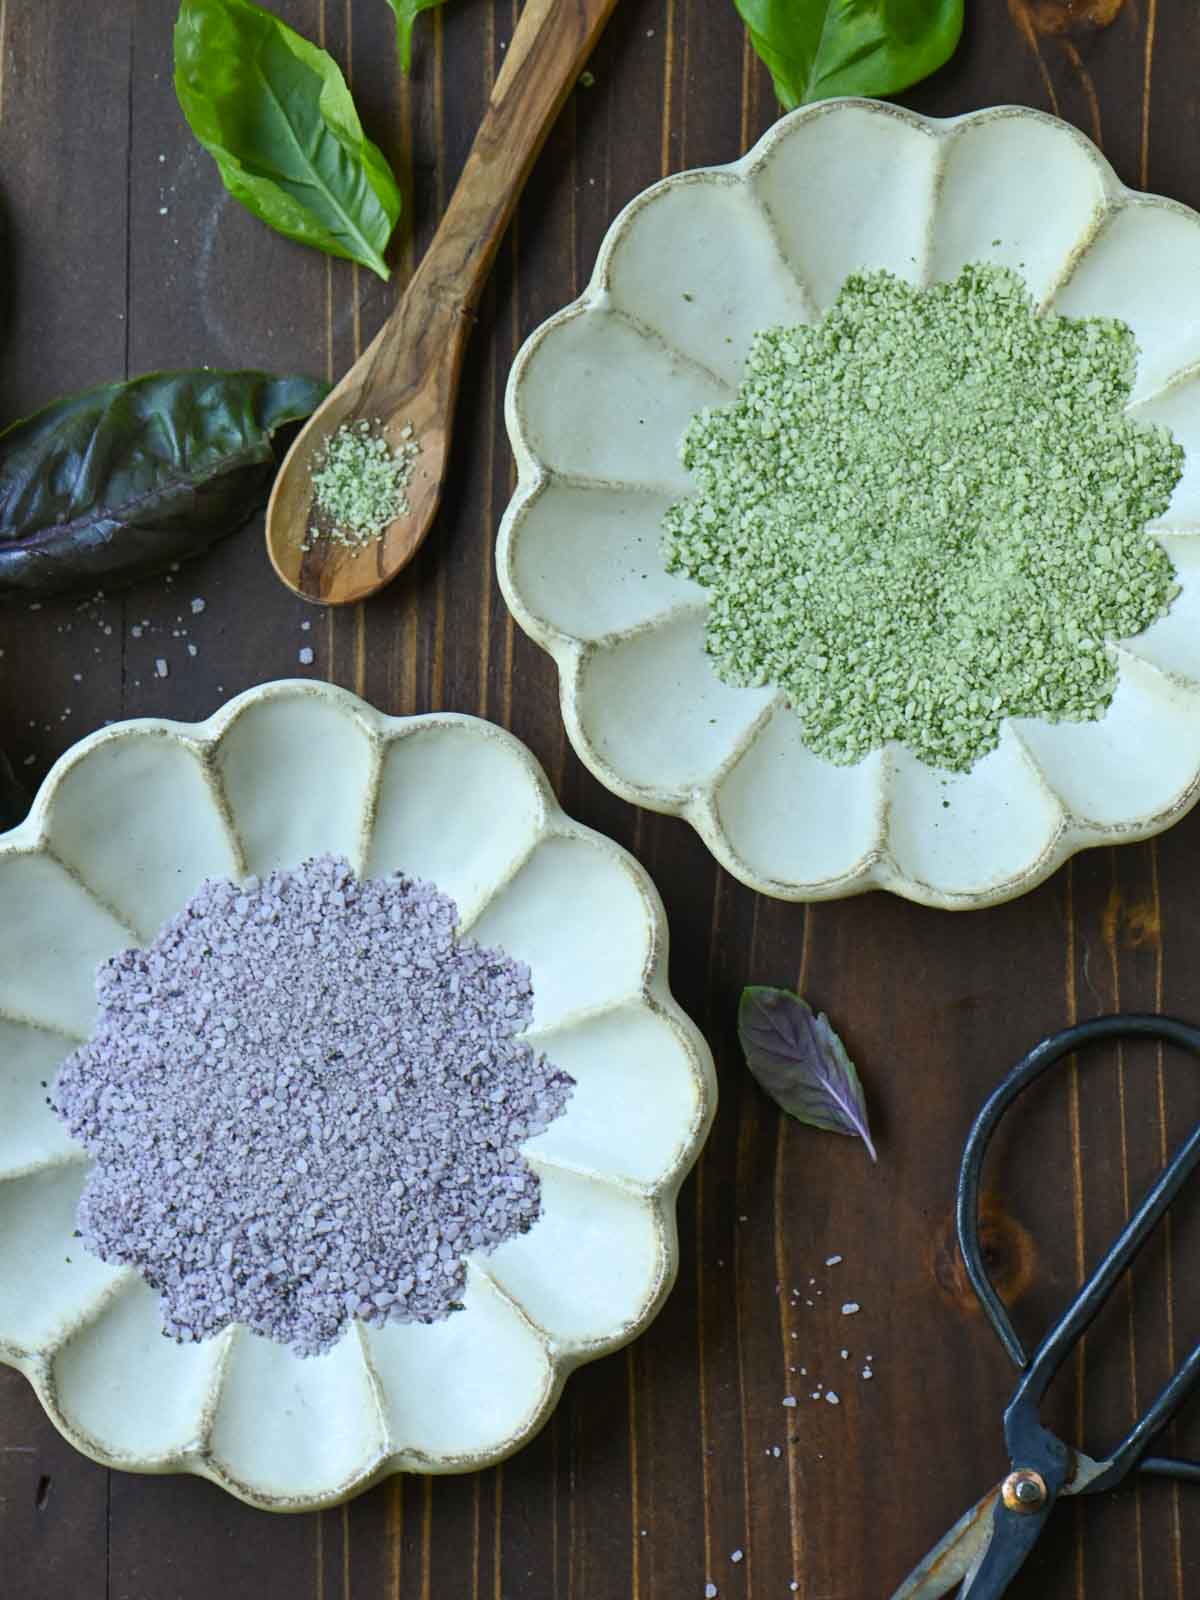
The full list of ingredients can be found in the recipe card.
Step-by-step instructions
Here's how to make basil salt using a food processor. I used my mini food processor, which is the perfect size for this recipe.
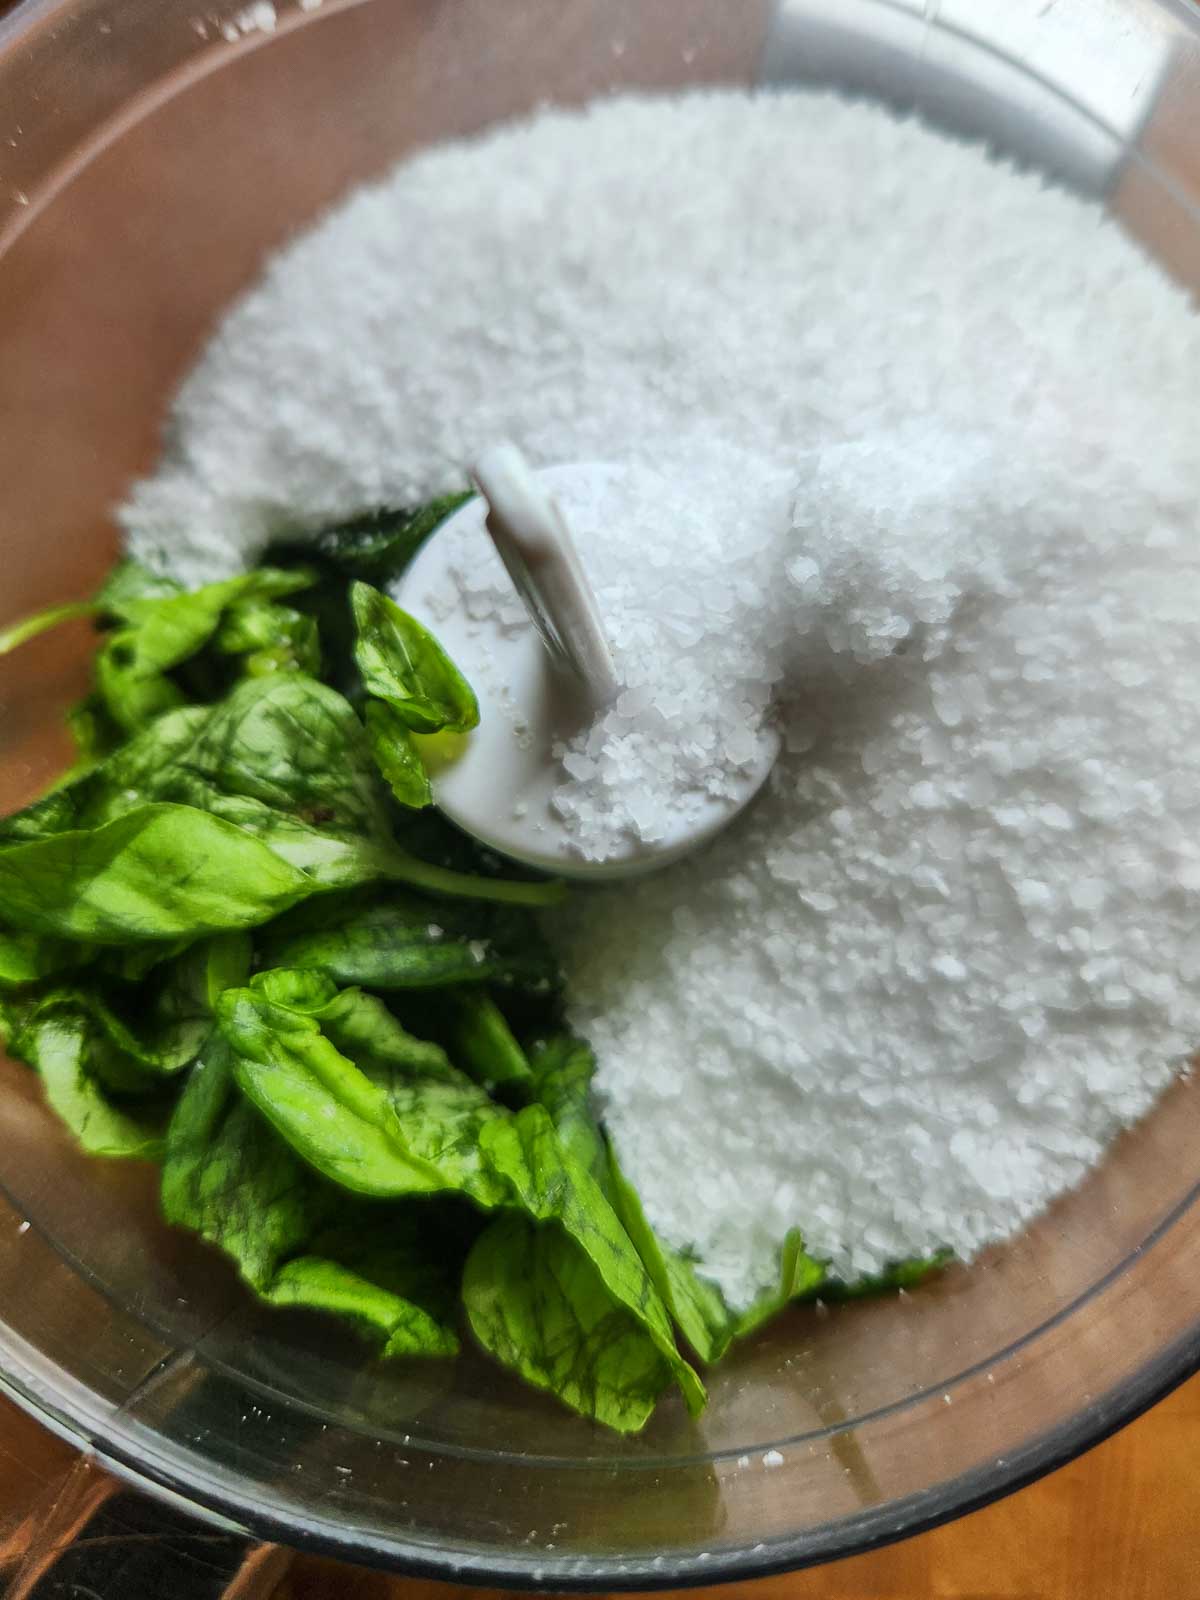
Step 1. Wash and thoroughly dry the basil (choose either type). Place the dried basil in the bowl of a food processor along with the salt.
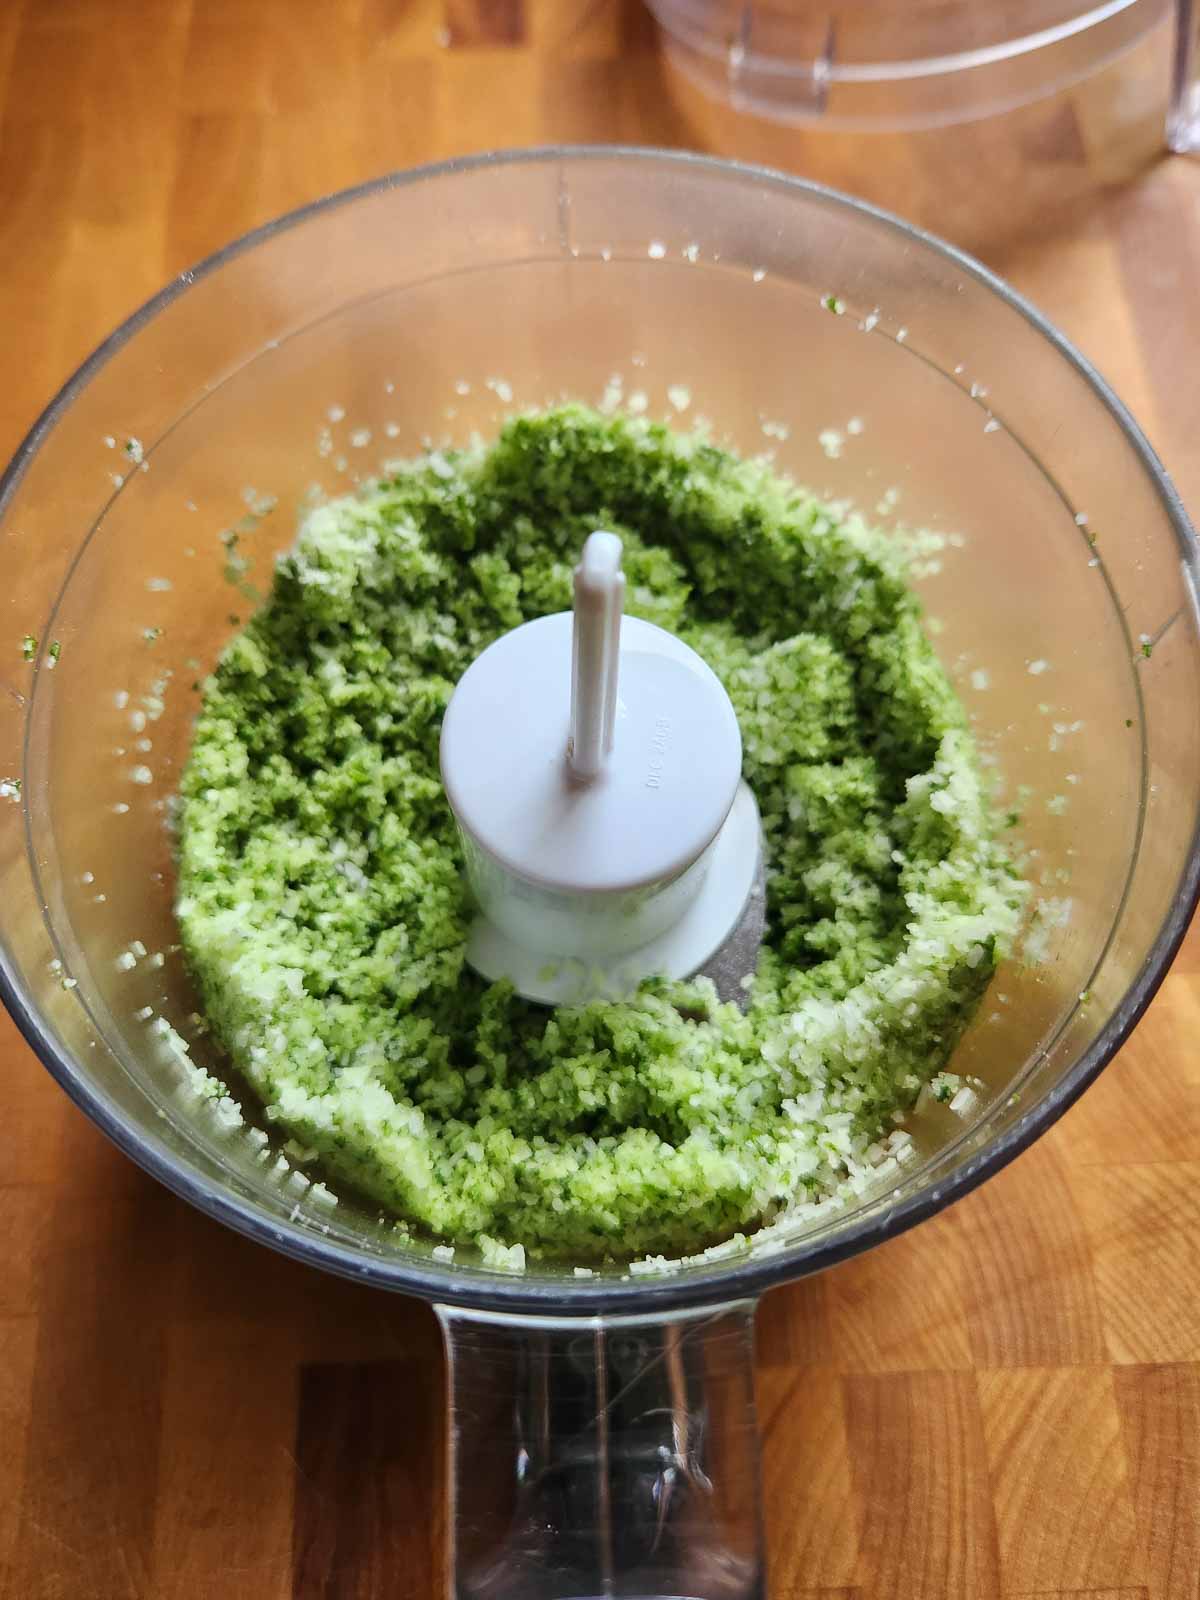
Step 2. Pulse a few times until the basil is fully incorporated into the salt. If using purple basil, the salt will not turn purple at this stage.
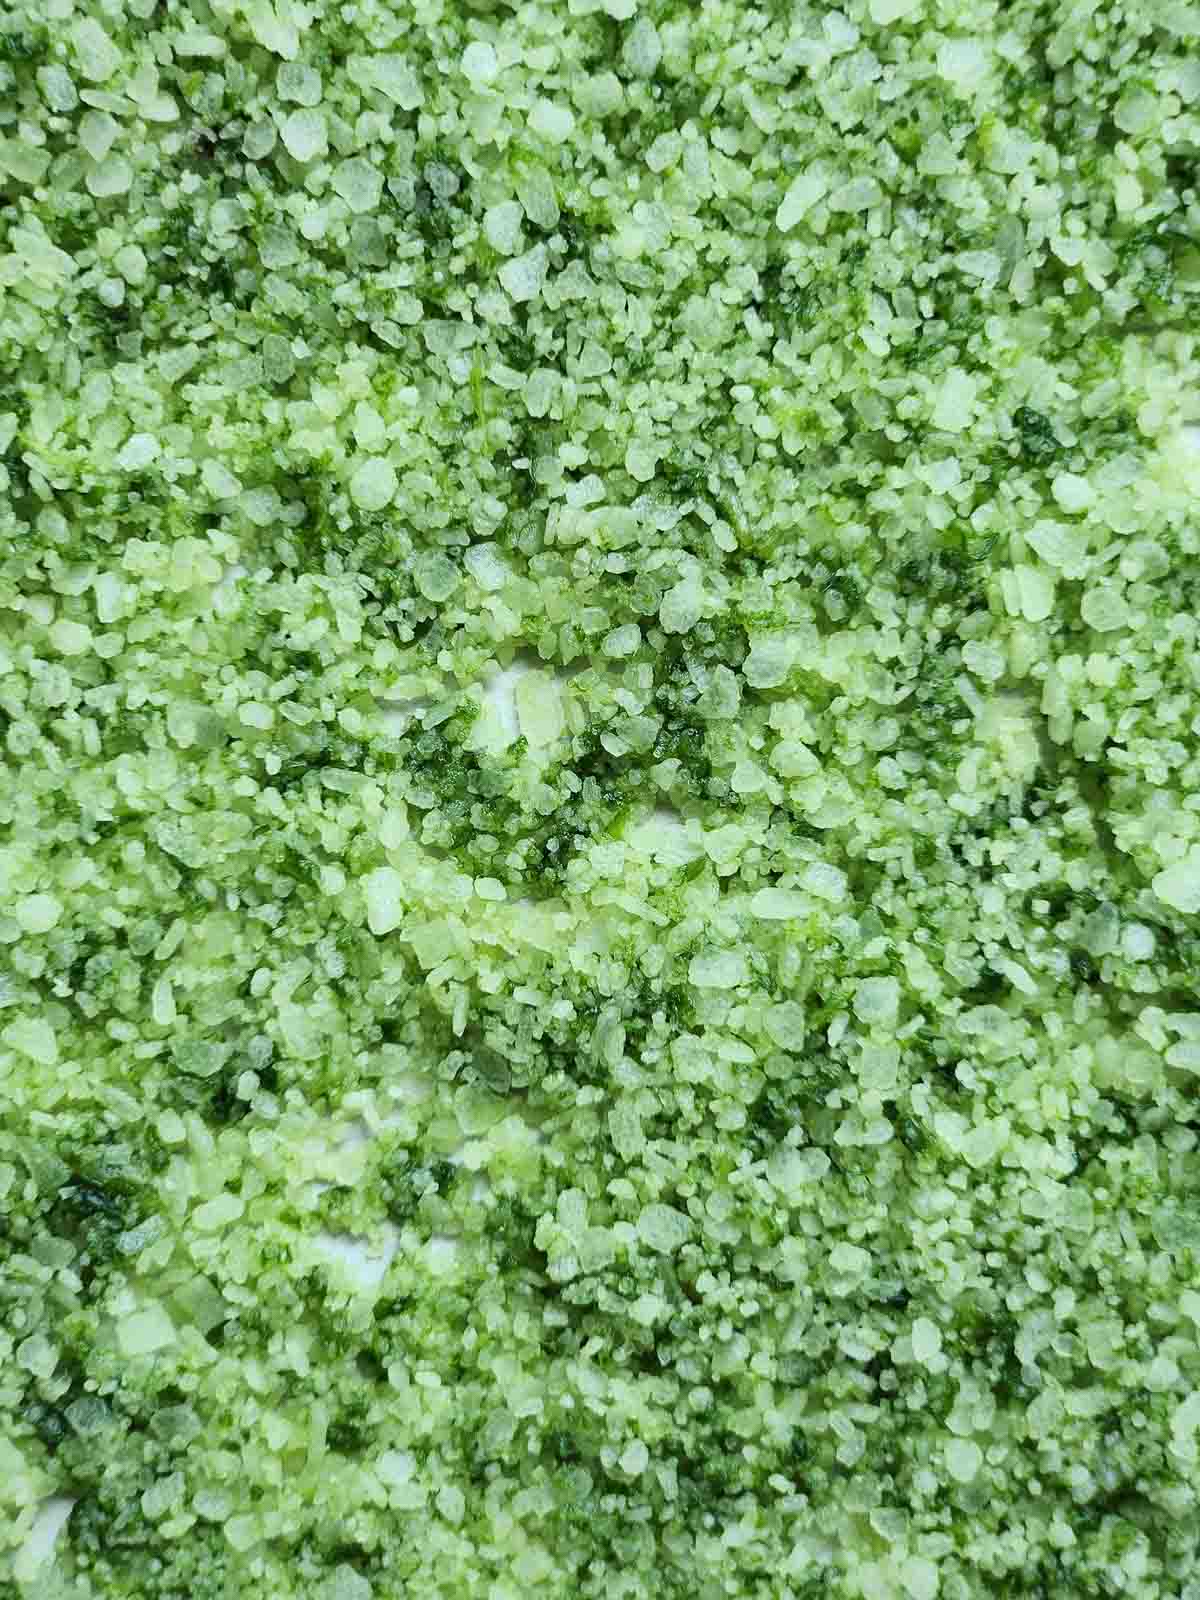
Step 3. Spread the prepared basil salt on a baking sheet lined with parchment.
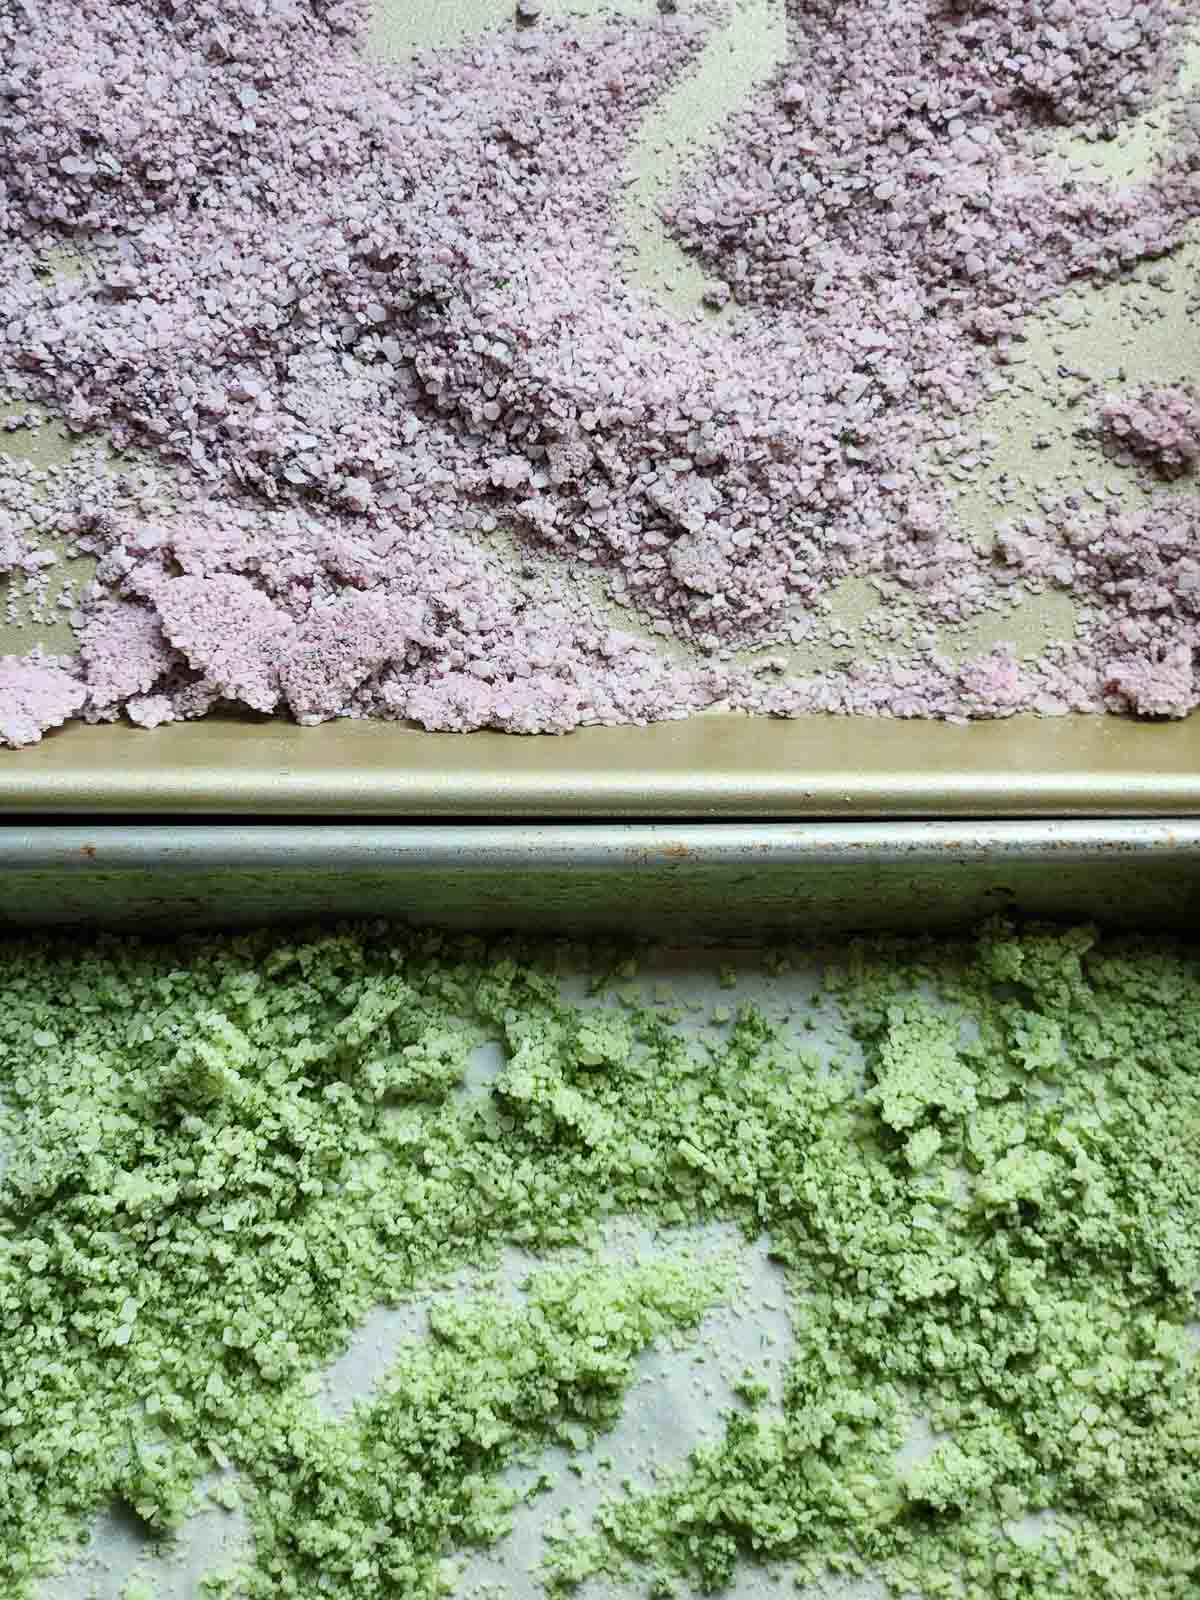
Step 4. Dry the basil in a 200°F oven for about 30 minutes or until the salt is completely dry.
*These are abbreviated instructions. The full list of directions can be found in the recipe card below.
👩🍳Expert tips
- Use fresh, dry basil leaves. Avoid washing basil right before making this recipe if possible. If you do rinse it, make sure the leaves are completely dry before combining them with salt. Any extra moisture can slow the drying process and cause clumping.
- Don't over-process the basil. Pulse the basil and salt just until the leaves are finely chopped and evenly distributed. Processing too long can release too much moisture and turn the mixture into a paste.
- Choose coarse salt for the best texture. Coarse kosher salt or coarse sea salt helps draw moisture from the basil while creating a beautiful finishing salt with visible herb flecks.
- Dry it completely before storing. Any moisture will cause the salt to spoil.
Basil salt variations
Once you know how to make basil salt, you can use the same simple method to create a variety of homemade herb salts with fresh herbs, citrus, and spices.
- Try other herbs. The same method works well with parsley, rosemary, thyme, sage, oregano, dill, tarragon, chives, or cilantro. Just be sure the herbs are fresh and completely dry before processing. You could also do a mixed herb salt.
- Add citrus zest. Mix in finely grated lemon, lime, or orange zest before drying. Be sure the zest dries completely before storing.
- Add garlic. Add 1-2 teaspoons of granulated garlic for a garlic-basil salt.
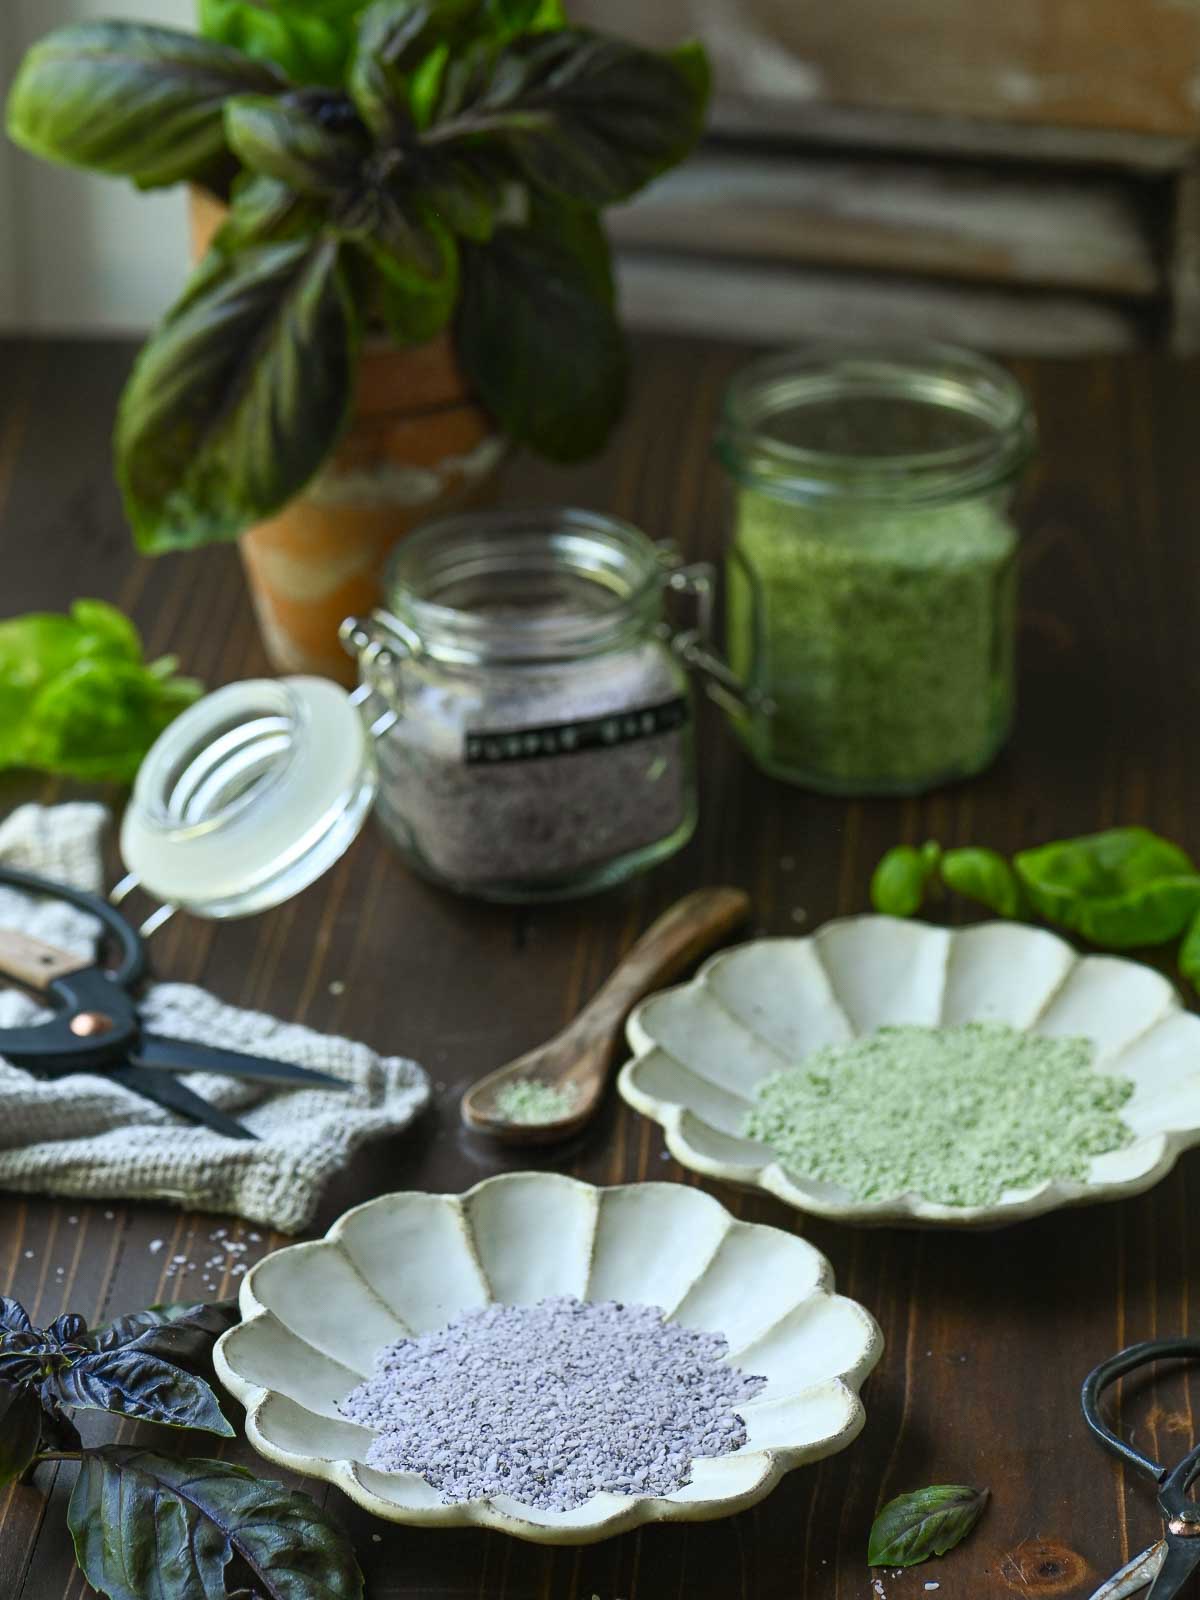
Using your basil salt
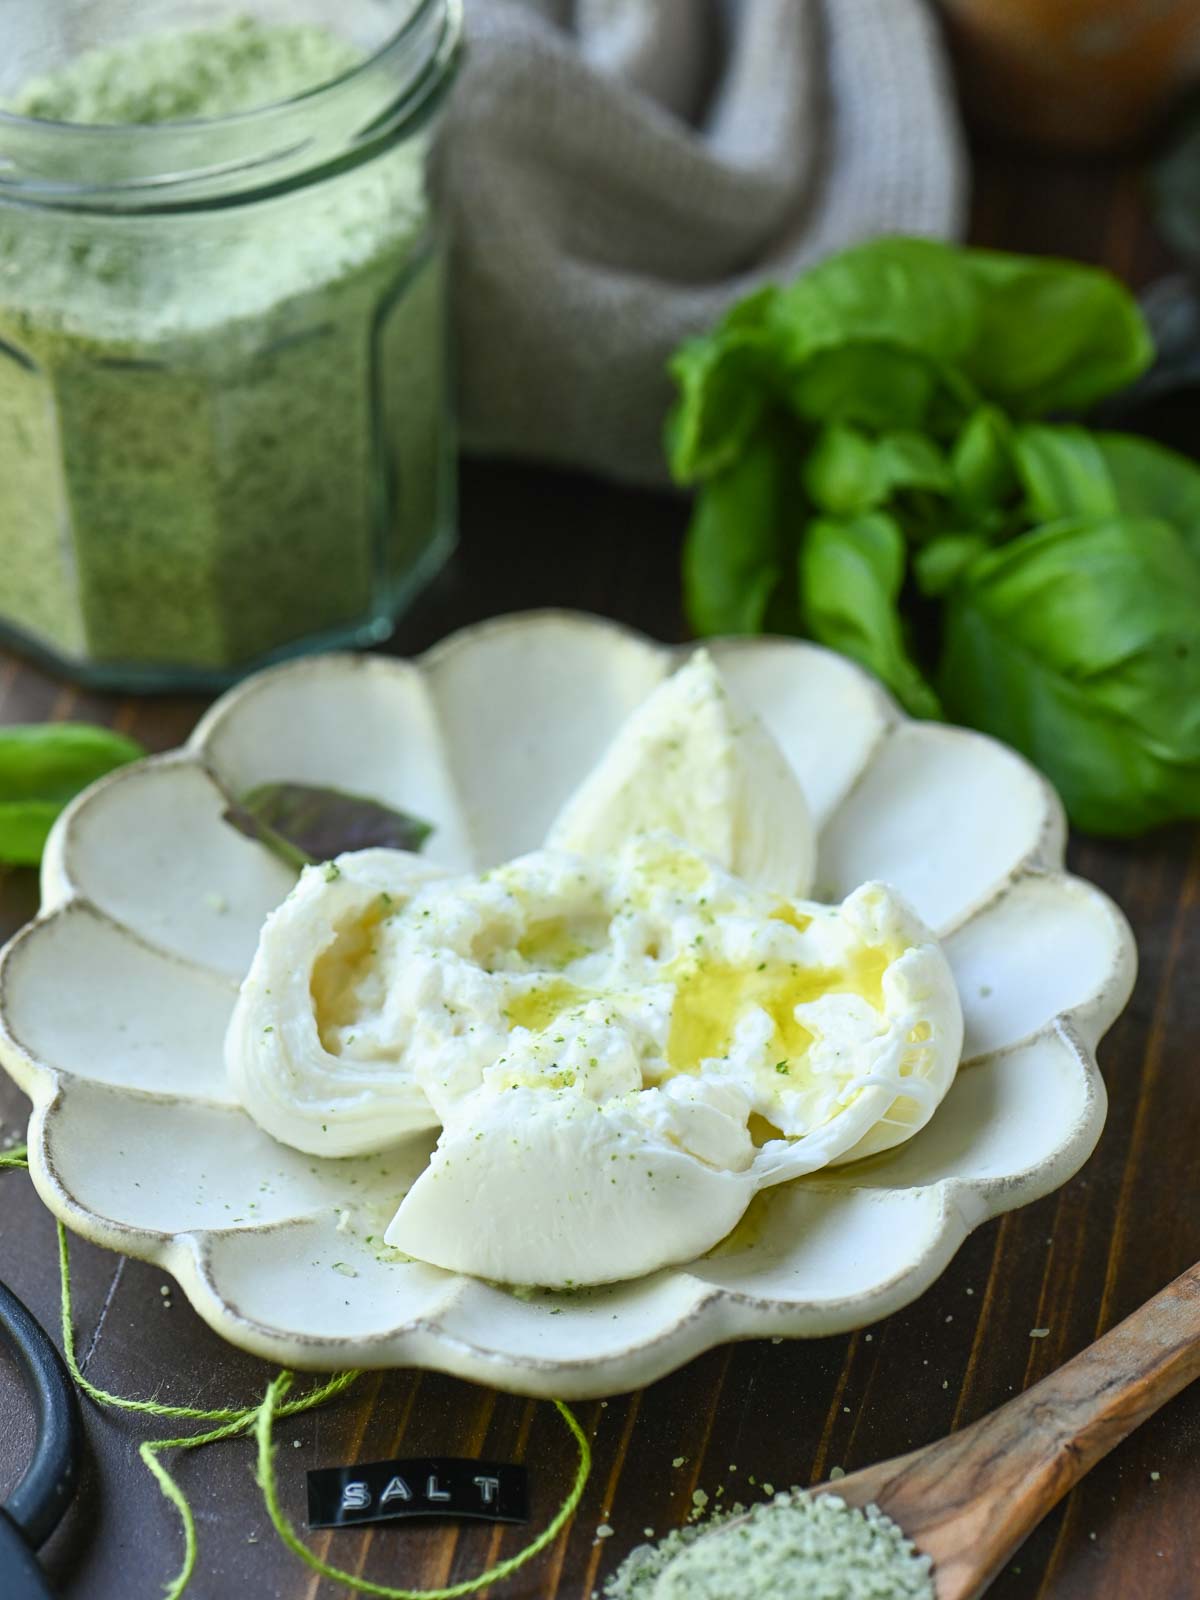
Basil salt can be used for cooking, but it works wonders as a finishing salt. Adding it at the end of the cooking process preserves the fresh basil flavor, color, and texture of the salt. When ready to use, sprinkle it over your favorite sweet (yep, sweet too!) and savory dishes right before serving.
- Salads. Use it to finish a fresh summer salad like my heirloom caprese or peach burrata salads.
- Gourmet toast. I pretty much always top my fancy toasts with an extra sprinkle of flaky sea salt. Swapping that for basil salt works even better for my peach, avocado, or strawberry toasts!
- Roasted veggies. Summer-roasted tomatoes topped with basil salt? Um, yes, please.
- Eggs. Basil salt is an easy way to transform everyday eggs. Sprinkle it over baked, soft-boiled, fried, or poached eggs just before serving.
🎁Hostess-gift tip
Package basil salt in small jars with a handwritten label for an easy homemade gift. Pair it with fresh bread, olive oil, or a favorite recipe for a thoughtful kitchen-themed gift.
Storage and prep
Once the basil salt is completely dried, transfer it to an airtight glass jar or container (like a Mason jar). Store it in a cool, dry place away from direct sunlight and heat, which can cause the basil's color and flavor to fade over time.
Properly dried basil salt will keep for up to 6 months, although it will have the best flavor and brightest color when used within the first few months. If the salt becomes damp or begins to clump, spread it out and allow it to dry completely before storing it again.
Frequently asked questions
You can still make basil salt without a food processor. Finely chop the basil by hand with a sharp knife, then mix it with the salt and continue with the drying process. A mortar and pestle also works well for breaking down the basil and releasing its oils while keeping the salt's texture.
A blender can work in a pinch, but it is not the best option. The narrow container and powerful blades can make it difficult to evenly process the basil and salt, and you may end up with a finer, more powdery texture. If using a blender, pulse in short bursts and stop often to scrape down the sides.
Yes! Basil salt can be air-dried indoors as long as it is spread into a thin, even layer and kept in a dry, well-ventilated area. Spread the salt mixture onto a parchment-lined baking sheet or plate and allow it to dry for several days, stirring occasionally to prevent clumping and help the moisture evaporate evenly. Avoid covering it tightly while drying, as trapped moisture can slow the process. Once the basil salt is completely dry and crumbly, transfer it to an airtight container for storage.
Yes, but it depends on your weather conditions. Basil salt can be air-dried outdoors in a warm, dry, low-humidity environment. Spread it in a thin layer on a parchment-lined tray and keep it covered with a fine mesh food cover to protect it from insects and debris. Avoid outdoor drying on humid or rainy days, as moisture can slow the process and affect the final texture.
Perfect pairings
Basil salt can be used anywhere where you need an extra flavor boost!



Made this recipe? I'd love to hear about it. Please leave a ⭐⭐⭐⭐⭐ rating and comment below the recipe. Snapped a photo? Tag @brunchandbatter on Instagram so I can see your creation!
📖Recipe
Homemade Basil Salt (With Green or Purple Basil)
Equipment
- food processor
- baking sheets for drying the salt
Ingredients
- 2 cups fresh green or purple basil leaves, loosely packed (any variety)
- 1 cup coarse salt (such as kosher, flaky, or Himalayan salt)
Instructions
Basil Salt (choose either color; the instructions are the same for both)
- Wash and thoroughly dry the basil leaves. A salad spinner works well, or pat them dry with paper towels. For the best results, wash and dry the basil a few hours ahead of time so any remaining moisture can evaporate.2 cups fresh green or purple basil leaves, loosely packed
- Add the dried basil leaves to the bowl of a food processor along with the salt. Pulse a few times until the basil and salt are evenly combined. (Note: the purple basil won't have much color yet at this stage; it will turn purple when dried.)1 cup coarse salt (such as kosher, flaky, or Himalayan salt)
- Choose a drying method:Oven method. Preheat the oven to 200℉ (or the lowest temperature your oven allows). Spread the basil salt mixture in a thin, even layer on a parchment-lined baking sheet, then place in the oven. Dry for 30 to 40 minutes, stirring once or twice, until the basil is completely dry and crumbly. Let the basil salt cool completely, then pulse a few times in a food processor, if desired, to break up any large pieces before transferring it to an airtight container.Air-dry method. Spread the basil salt in a thin layer on a parchment-lined tray. Let it dry uncovered at room temperature for 2 to 5 days, stirring once or twice daily, until the basil is completely dry and the salt feels loose and crumbly. At this stage, you can pulse it again in the food processor to loosen any clumps. Transfer to an airtight container.
Notes
- Wash and dry the basil thoroughly before starting. Excess moisture will increase drying time.
- Measure the basil loosely packed, not tightly packed.
- Coarse kosher or sea salt creates the best texture for a finishing salt.
- The basil salt is ready when the basil is completely dry and crumbles easily between your fingers.
- Drying times will vary depending on the moisture content of your basil and the drying method used.
- Store in an airtight container in a cool, dry place for up to 6 months. For the best flavor and color, use within 3 to 4 months.
- This recipe has been tested using the air-dry and oven methods. If you own a dehydrator, follow the manufacturer's instructions for drying.
Nutrition*
*Nutrition information is an estimate and provided as a courtesy. Actual values may vary based on ingredients, measurements, and substitutions.

Gina says
Well l had basil and salt, so finally I had all the ingredients for a recipe I wanted to try! This was very easy. I have regular basil in my garden, and this was easy to make. I dried it in the oven, and it was done in about 25 minutes. I forgot to add parchment, but luckily nothing stuck. I'll definitely be making more, and may even do rosemary salt next.
Jennifer says
Isn't it the best? Thanks for giving it a try!